After removing the driver's side quarter I found the outer wheelhouse rotted through but only on the outer lip. I can't bring myself to removing perfectly good metal so I'm only going to replace the lip (see the marked area)
After removing the driver's side quarter I found the outer wheelhouse rotted through but only on the outer lip. I can't bring myself to removing perfectly good metal so I'm only going to replace the lip (see the marked area)

After taping off the rotted wheelhouse lip, I transfered the tape (template) to the new wheelhouse in prep for cutting.

Decided to butt weld in a patch for my quarter. Since most of the original quarter is in good shape, I will only replace what is necessary. There was surprisingly little rust under the original.

I aligned the new patch with the existing body lines. As the wife held the patch in place, I drilled a few holes through both layers of sheetmetal and stuck in some clecos I found on ebay. Great deals there for a handful of them and the pliers you'll need. I love these things! After this I scribed in the outline of the patch and taped the design for ease of cutting.

I cut out the exact shape of the patch but left little tabs where the cleco holes were so that as I weld later, I will have something that will hold the panel in place. Once most of the panel is butt welded in, I'll cut off the tabs and weld up those edges too. First thing's first though... the wheelhouse has to be repaired before all else.

The panel lays in quite nicely when the old sheetmetal in removed. Sure hope I didn't get in over my head on this.
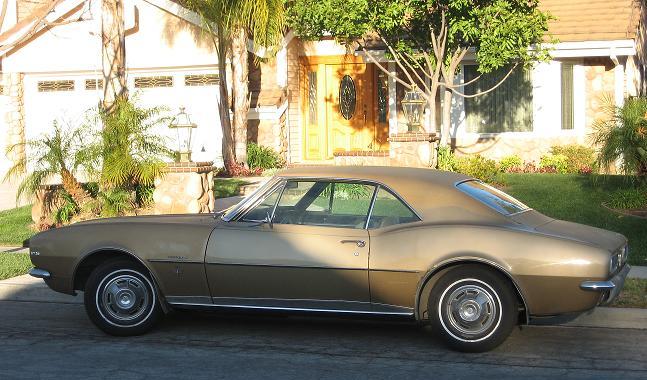
 Here's a good picture of what my next project will be. The rust seems to have gone all the way through the body sheetmetal into the understructure.
 Wonder what I'll find under this mess. Doesn't look pretty. Doesn't look like an easy area to fix either.
 Bought this 80% quarter from NPD for a DANG good price! Poor thing... it's not long for this earth. The plan is to use as little of this as possible to make the patch smaller and so have less chance of a very large ugly area. Large patch = potentially BIG ugly repair... Small patch = possibly small ugly repair.
  Cut off as little as I dared to take a good look inside and see what I was going to be working with. I found surpprisingly VERY little rust given the damage seen from outside. Only the wheelhouse lip had rust damage. The rest was just dirty. I have hopes of a good result now and hopefully few headaches.
 Well... at first I thought about fabbing up a new lip for the wheelhouse and putting on the new skin but that would require a way to roll the metal to make a new lip and then aquiring a shrinker/stretcher to make it bend. With the prices from NPD in California... it's just cheaper to buy a new wheelhouse. To make the curved upper cut line for the skin patch I used a small piece of sheetmetal, bent it into an L shape a little longer than the length I wanted it from the upper body line. Then drilled a hole the size of the tip of my Sharpie at the right length I was looking for. I ran the L shaped bracket along the upper body line with the Sharpie in the hole and BINGO! a cut line that is perfectly uniform from one end to the other and is exactly the same distance from the upper body line all the way across. Keep in mind that this is a smaller hole than the patch will cover. I made it purposefully smaller so that I have some metal left so I can temporarily lap the two pieces together with some clecos I bought for the welding process.